App the room chapter 2
Following the order in the image below. When all the switches are turned on, the center will eject. Two more switches are revealed. Turn both at the same time with your fingers. A compartment will open with a Large, Oddly Shaped Key inside. Oddly Shaped Key: Go to the front of the box. Try insert the key. Then look at the key closely. A pattern will appear showing you how to rearrange the key.
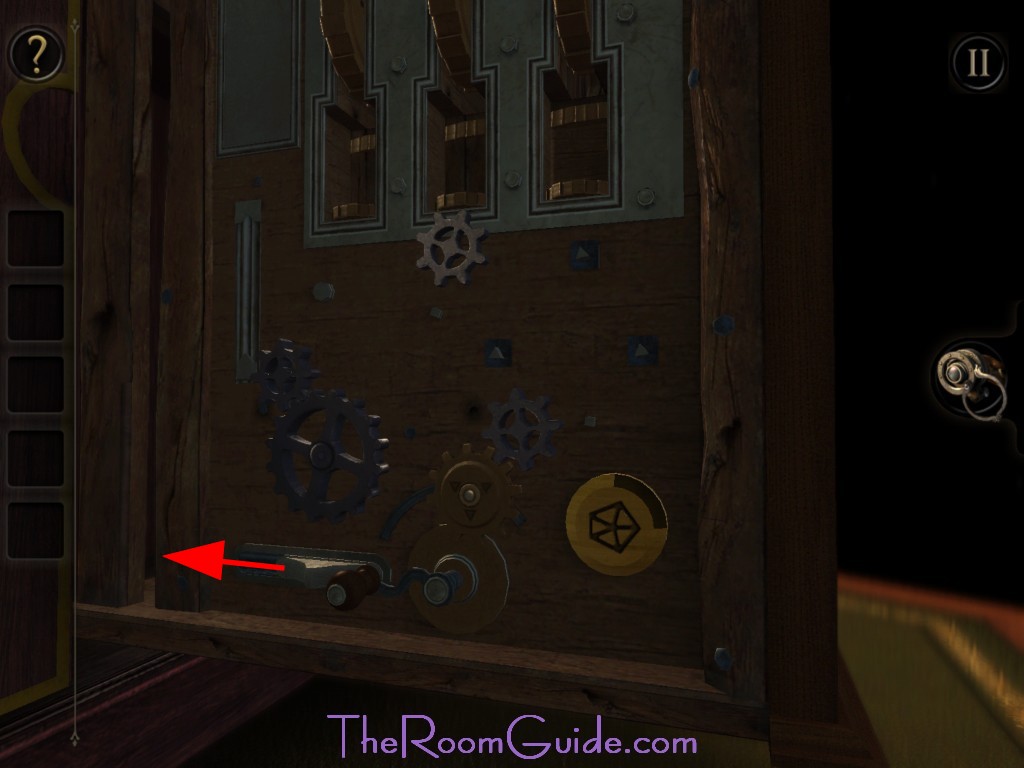
Rotate your view can make the task easier.
Once key are rearranged. Insert the key again and turn. Collect the Circular Plate with a Star Emblem. Circular Plate with a Star Emblem: Go to the side of the case with a gear icon. Insert circular plate and turn. You have open the top seal!
The orbs on my game Chapter 2, step 8 do not move at all. They do nothing when I tilt my Android device. This will unlock the big box on this table. Pull apart the two lids. Take the disc from the left lid and place it in the circular indentation on the side of the box. A weight and a second disc will appear. Place the weight on the square on the right scale to make another circular indentation appear on the box. Put your second disc in this indentation. Spin it around so one of the gaps is facing one of the pegs, and pull the peg into the gap.
Keep doing this until all gaps are filled. A weight will appear. Look at it in your inventory and then spin the top so the two small brass arrows are touching. The weight will transform into a triangle. Place it onto the triangle shape on the left scale. A third circular indentation will appear on the side of the box. Go back to the area where you just found the weight. You'll see these four curious latches. Spin them to look like the screenshot.
You just unlocked a tray on the end of the left lid. Pull the tray out to reveal a disc.
The Room 3 walkthrough
Take it and slot it in the third circular indentation. Spin the disc around so the long slot is next to the peg with the triangular gap. Move the peg into the slot. Then, spin the disc around degrees and drop the peg with the triangular nose into the slot - and the triangular gap.
Then, move the other pegs into the other slots. Another weight will appear. Look at it and lift up the wedges on all four sides to convert the square into a 'start' shape. Then, place it on the corresponding space on the left scale. Go back to the area where you just took the weight. Spin the brass circle around so the two arrows on this screen meet.
Chapter 2 – Section 2 | The Room
You'll see a disc. Put it in the fourth and final indentation. Then use your eyepiece to enter the small hole that opens. Repeat this process with each limb until you get to the centre of the puzzle.
Pull the top handle down, and then spin the column using the wheel until you've made a complete window in the metal grate, like above. Now move the bottom handle up and spin the entire thing until the window is over the hole in the centre or the column, as above. Don't say we never do anything nice for you. Investigate the panel on the door. Slide open the latch and look inside. Here are the solutions: The power of flight, the well of knowledge - feather The poor have me, the rich need me - nothing My face is silent without my hands - watch You'll get an ornate box for your troubles Look at the box in your inventory.
Inside, place the pyramid on the triangular shape on the table. You'll get an emblem. Then rotate the rotating pieces to match the image above Look at the panel on the wall. Flip all four switches and press the button inside this machine to open it up. Look on the floor to find a tile, with a plaque that reads PYRE. Take the sphere inside. Take the carved wooden arch. Place the arch on the table here.
Then twist it and use your eyepiece to go inside. Take the wooden model piece from inside.
Continue Reading
Open this drawer and take the model clock face. But also note the symbols on the tiny plaque. Find and note these symbols, too. Make a note of both of these, which you can see below. Got them? Then return to the front face of this structure.
Cube Escape: Paradox - Chapter 2 on Steam
Take the piece from inside. Open this drawer and take the antler. Look at this bolt and twist it. Take the brass rivet from inside. Leave this area Place the metal pointer on the inside of the open panel on the diver's helmet. You need to do it in the specific order shown above, also. Take the copper tap. Place the copper tap here. Twist it. Look at the acorn and twist it to open it into a key.